

Read Part 1 here
Setting up Camp
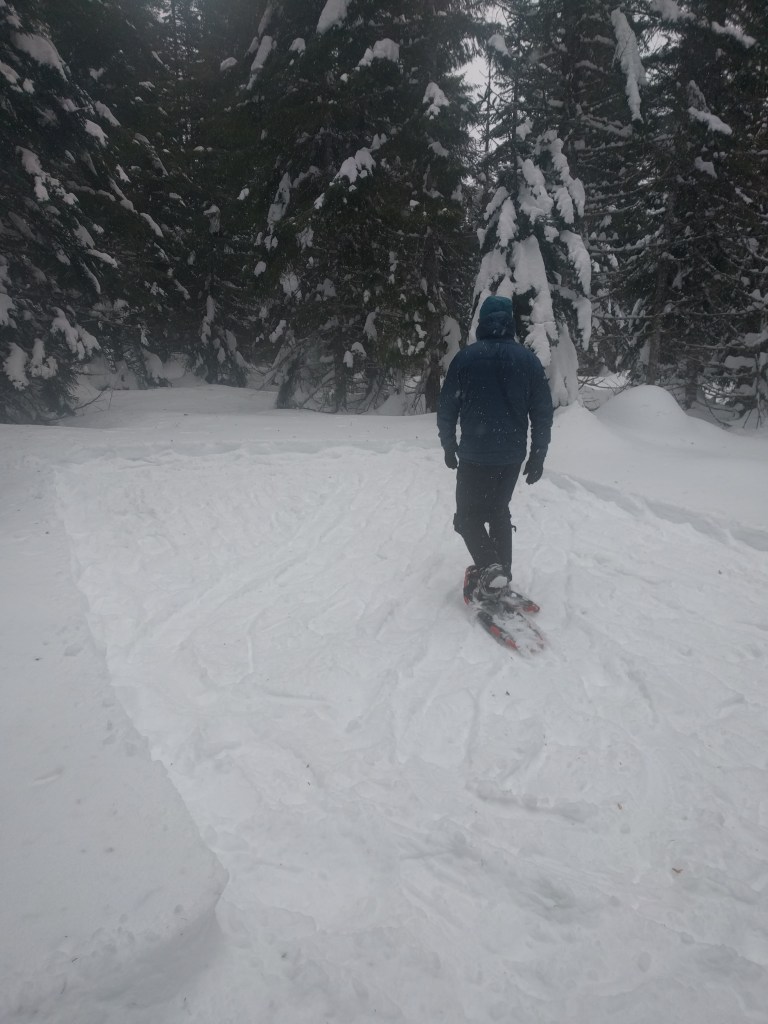
Find a nice, relatively flat place to camp with some shelter from wind. With your snowshoes of skis on, walk a big perimeter around where you’ll be camping. With your friends, mush and stomp down all the snow in this area. It’ll harden up after an hour or so, and you’ll be able to walk on top of it without sinking in your normal boots.
Set up your tent like normal, except you’ll be using deadmen anchors instead of stakes. All you need for a deadman anchor is a line connected to your tent and a stick tied to the other end. Bury it 6 inches to a foot down in the snow. Pack it in hard. This will set within an hour or two, and the next morning it’ll be like poured concrete. Use your shovel or ice axe to dig it back out if needed. You can also yank on the rope and just break the stick.
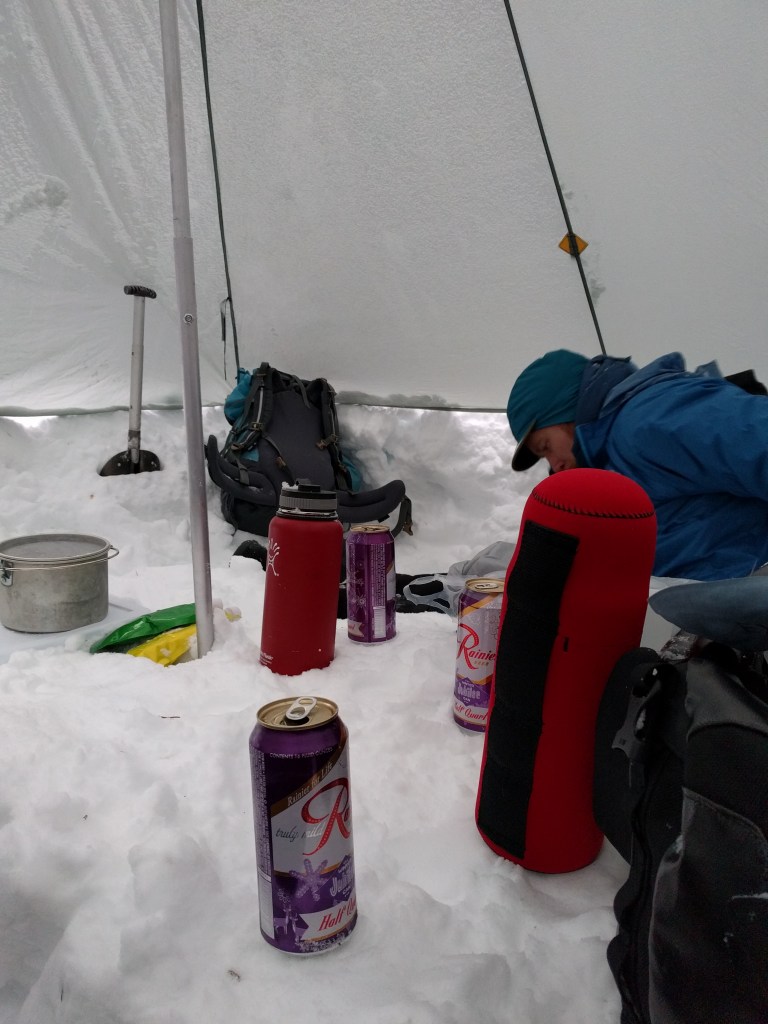
If the snow is deep enough, make your own snow furniture! The easiest way to do this is to dig out one trench deep enough for you to rest your feet on if you’re sitting on the surface of the snow. Gaze upon the lake or mountain of your choice. If you have enough friends, dig out another trench right in front of you, separated by a snow table. You can even fashion little spots for drink holders and a place to put your stove setup. The sky is the limit here, the only limitation is your imagination.

Water
There are are a few ways to have enough water. The first is that you can pack all of your water in for your trip. We will use a combination of nalgenes, hunersdorf mountaineering bottles and insulated stainless steel thermos’. This has its obvious drawbacks, water is heavy. This is ok for an overnight and pulk trip, any more than that you’ll need to either find liquid water, melt snow, or a combination of both.
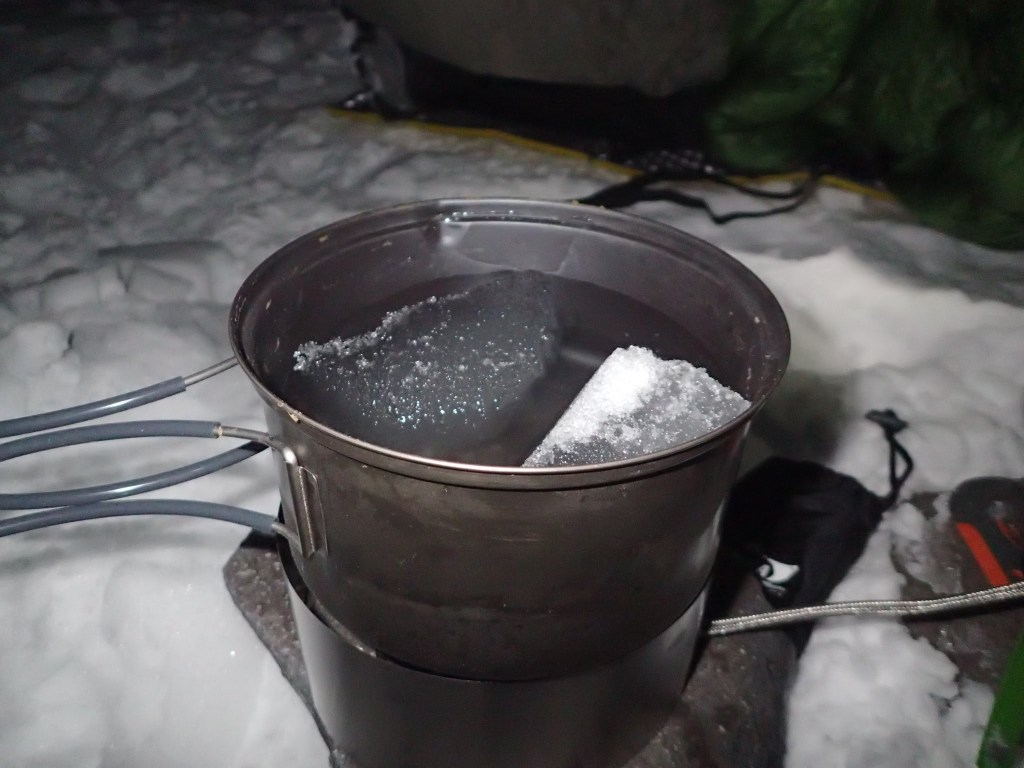
Alternatively you can melt snow for water, although this is time consuming and requires a lot of fuel. A big, over sized pot makes this much easier. Bring far more fuel than you normally would.
It is also possible to find liquid water, even in very cold temps. Look for outflows from little ponds and lakes. Sometimes you can punch through ice on the shore to get water, although it is a pain to collect in my opinion. Not every creek on the map will have water, and if it does it may be inaccessible.
When you get to camp, BURY your water bottles upside down in the snow. Mark the spot conspicuously with sticks or your poles. This insulates them from freezing. I’ve successfully used this technique into the single digits to preserve liquid water. Water freezes from the top down, so that way when you uncover your water bottles, the top wont be iced in. Pour or drink the water quickly, when exposed to ambient temps it’ll freeze right before your eyes.
Cooking/Food
Snow camping is a time to eat and drink whatever you want. A few favorites are buttered hot chocolate, Skurka beans n rice, and instant soup packets (noodle or miso). This is a great time for Mountain House style meals, which are easy to make. Eat high fat foods, the fat is great at keeping you warm. Stoke your body like you would a coal furnace to keep warm. Add butter and cheese to everything. It’ll make you into a little nuclear reactor and make your evening so much more enjoyable. Eat little snacks throughout the day to keep your energy up.
In warmer temps (mid-high 20’s) you can continue to use your 3 season canister stove provided you can keep the canister warm enough, although its better to get a stove that can take liquid fuel by inverting your canister. Liquid fuel stoves allow your stove to operate at much lower temps than relying on gas feed alone. The Kovea Spider is a particularly ubiquitous option and lightweight, you can still use normal gas canisters that you already have. Another option is to go into beast mode with an MSR whisperlite universal, which can use inverted canisters for liquid feed, or even use white gas to colder temps than you’ll ever want to experience.
Sleeping tips
Your first time snow camping, don’t be afraid to bring enough to keep you warm. Borrow or rent low temp rated sleeping bags if you don’t have one. Remember that you can layer quilts on top of your sleeping bag or other quilt. Its ok to just wear all your clothes to bed, although it might get a little tight with all the bulk. Use hand warmers and/or toe warmers if you know you get cold, this is a must for Reynaud’s sufferers! Fill a nalgene with hot water and put it in your sleeping bag to keep you warm, but be sure it is sealed so as not to wet out your gear with a liter of soon to be freezing cold water.
Wear a balaclava for extra warmth for the only exposed part of your body, i.e. your face. If you have damp socks from the day, put them into your sleeping bag as well, they’ll often dry out substantially by morning from your body heat. Most importantly, eat a nice fatty, filling meal followed by buttered hot chocolate. As your body burns the fat you may get so warm you need to vent your sleeping bag or quilt. If you get cold at night, eat more food, it’ll refuel the internal fire.
If you have to pee, take care of business. Nothing is worse that holding it all night, getting bad sleep and being uncomfortable. Some friends of mine will bring a Nalgene specifically to pee into so they don’t have to venture outside. Personally I just go outside of my shelter, sometimes right out the side of my tent. The choice is yours.
Any other tips you can think of? Pound off in the comments and have a great winter!


Hey, I enjoyed the post. How weary should someone be about setting up camp under trees? With all of the snowfall in the area I want to be cautious about possible falling limbs. But how will I know what to look for?
LikeLike
That’s a good question, I’d avoid dead trees but I’d never given it much thought till I read your comment
LikeLike