
My article Quick and Dirty Guide to Making a Map in Caltopo: A Tutorial on How to Use Caltopo is my most viewed post by a long shot. I thought it may be helpful to write a more concise, quick start guide for people new to Caltopo. Caltopo is free to use, but more helpful features are available if you pay the membership fee. I’m a paying member and have no affiliation with Caltopo or its creator. I just love it and want everyone to know about it. Support Caltopo and join here!
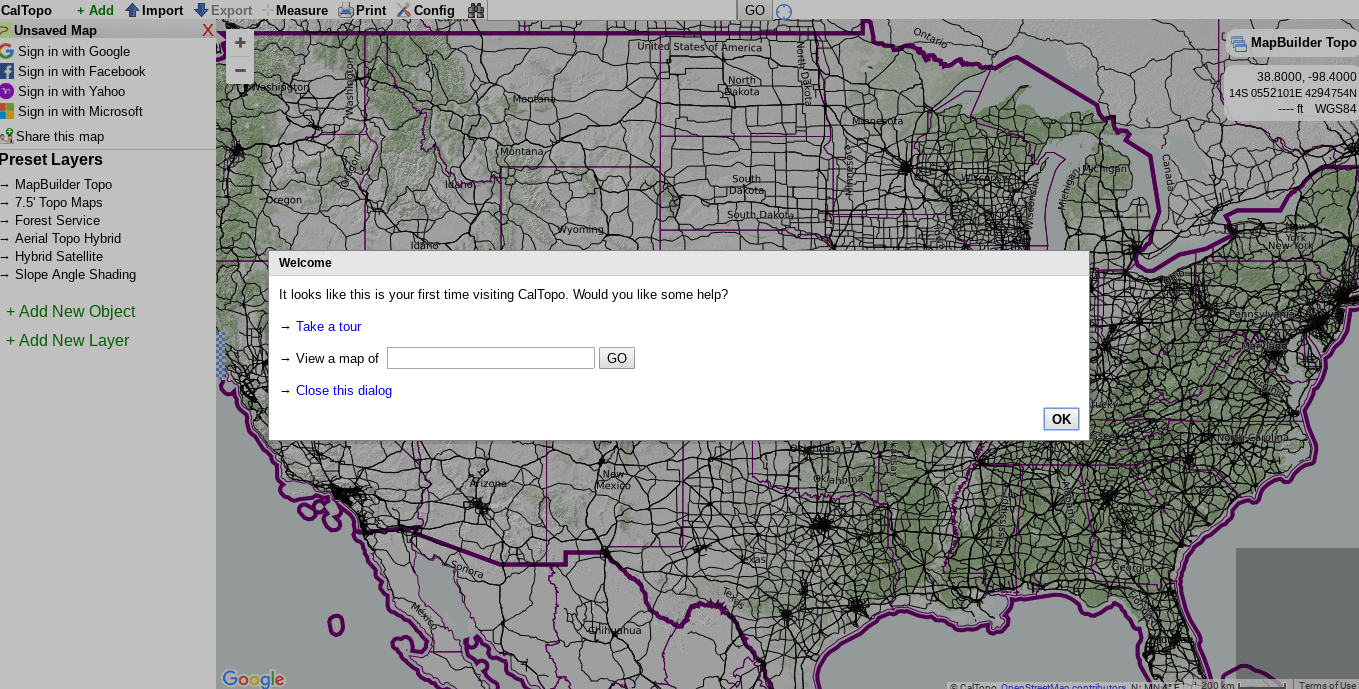
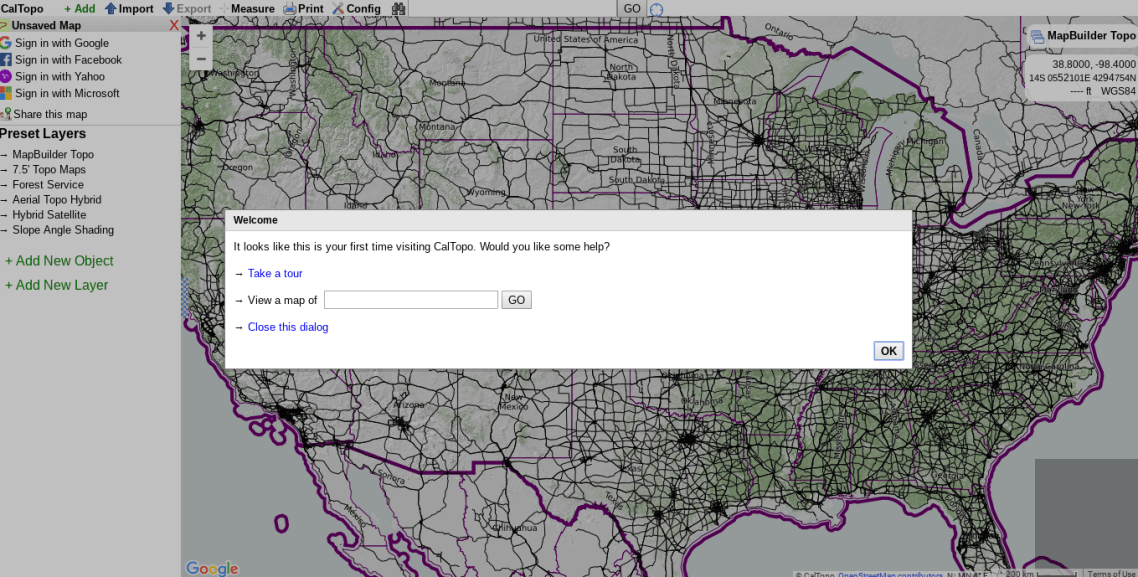
- Go to Caltopo.com and you’ll see the first image below. Click OK on that popup. Then type in where you want to go, using the search tool in the top middle of the screen, beside the binocular icon. I typed in Trapper Creek Wilderness if you want to try and follow along. Click on the gallery right below this for bigger images if you need them:


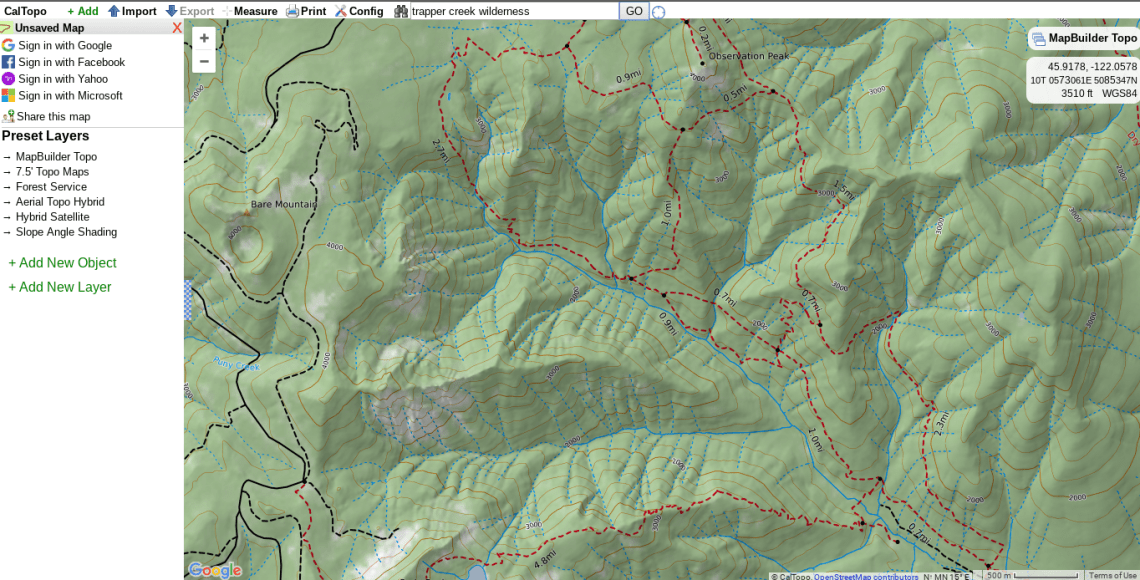
- This will give you an image similar to the one above… with all the trails already highlighted in red dashes. No need to trace one out. Keep in mind that Caltopo doesn’t necessarily pick up all trails that exist and may pick up on trails that are impassable or not maintained. Do common sense research before backpacking, should go without saying but still needs to be said because morons.
- Hover over the print icon. Then click on “print to PDF or JPG”. It will open up a new tab, shown in step 4.

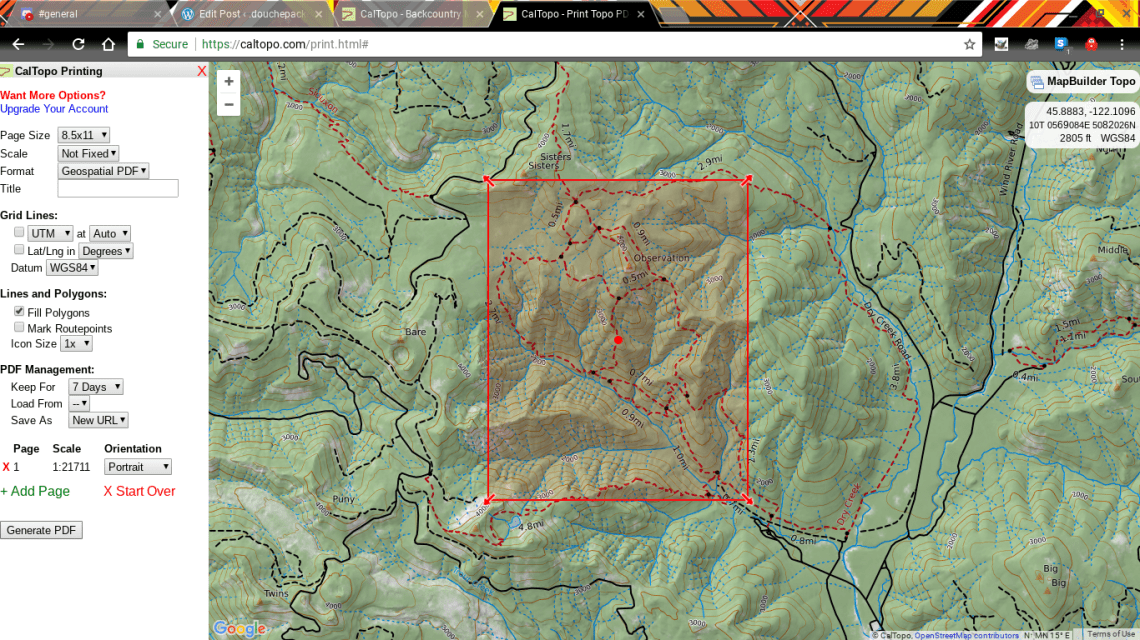
- After clicking to print, this tab below will come up. I suggest leaving the settings as is for now. The red area is the part you want to print. Move the whole area using the red dot right in the middle. Expand or contract the size using the arrows on the corners of the red area. One thing to remember, to keep the map legible and clear, keep the scale at 1:35000 or below in my opinion. This will make an 8×10 map, which is free. Larger sizes are available if you are a paying member. When the red area is right where you want it, click on “generate PDF” in the bottom left hand corner. A third and final tab will now open automatically.
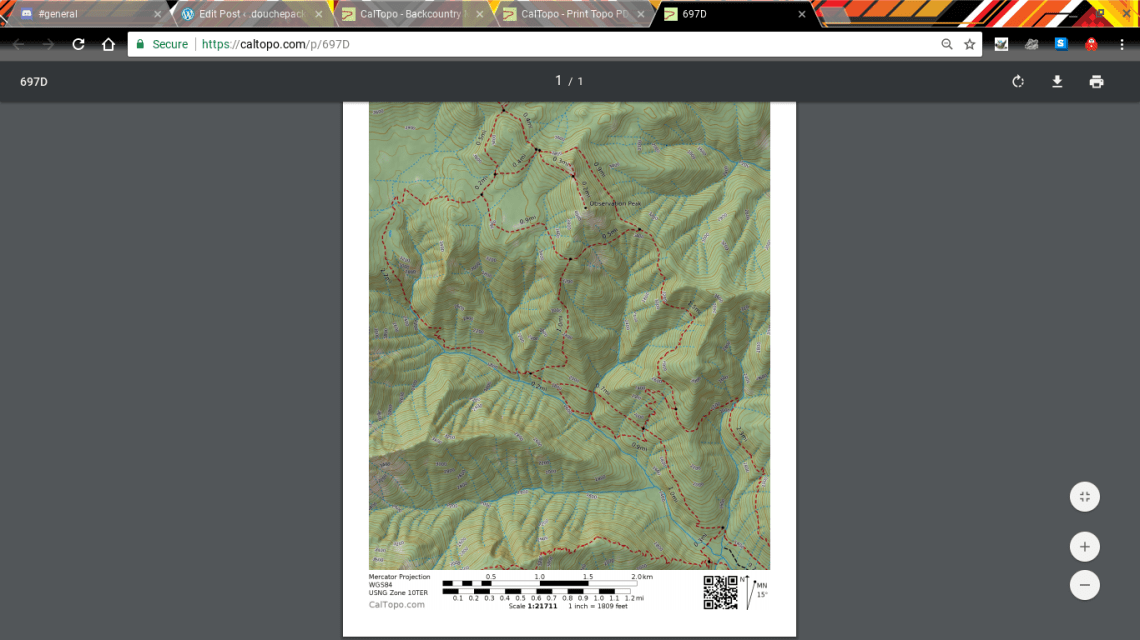
- This final tab shows how the map will actually look printed. I do two things here. First I load it into my Avenza Maps App in my phone. I simply use the QR code function to have the geospatial PDF loaded right into my phone, using the QR code in the bottom right hand of the map image. This allows my phone to be used as a GPS device and negates the need for an expensive, separate, heavier device. Feel free to use the GPS app of your choice. The second thing I do from this screen is print the map itself onto paper. This way you have a physical map that doesn’t run out of batteries. Print using the printer of your choice. I suggest doing it at work, thus using your employers resources to support your recreation. Offer to do it for your friends, too! They don’t pay you enough and you know it. I don’t own a printer nor do I have access to one at work, so I print it using FEDEX office as outlined here in this very helpful post.
That’s it in a nutshell. Now go hike! If this seems easy, check out my original article or have fun playing around on Caltopo with yourself. It’s capabilities are truly magical.
