

Last year I discovered the wonders of winter backpacking, in large part made possible by making a dirtbag pulk. Pulk just means sled in Finnish. Using that link for pmags.com (a treasure trove of content), you’ll find that all you need is rope, a cheap sled, PVC pipe, and two carabiners. That setup did me right, although the cheaper components (sled and carabiners) failed on my last trip. It lasted for 4 trips total. Since I found that I really enjoy winter camping and introducing others to it, I decided it was time to upgrade. Expedition level pulks cost hundreds of dollars. This is way fucking cheaper. This is an easy project and it took me MUCH longer to write this blog post.
My old setup used the following materials:
- Really nice climbers rope (overkill)
- $8 sled from Home Depot
- Two lengths of PVC pipes (helps keep the sled from slamming into your calves when going downhill and helps the sled track well).
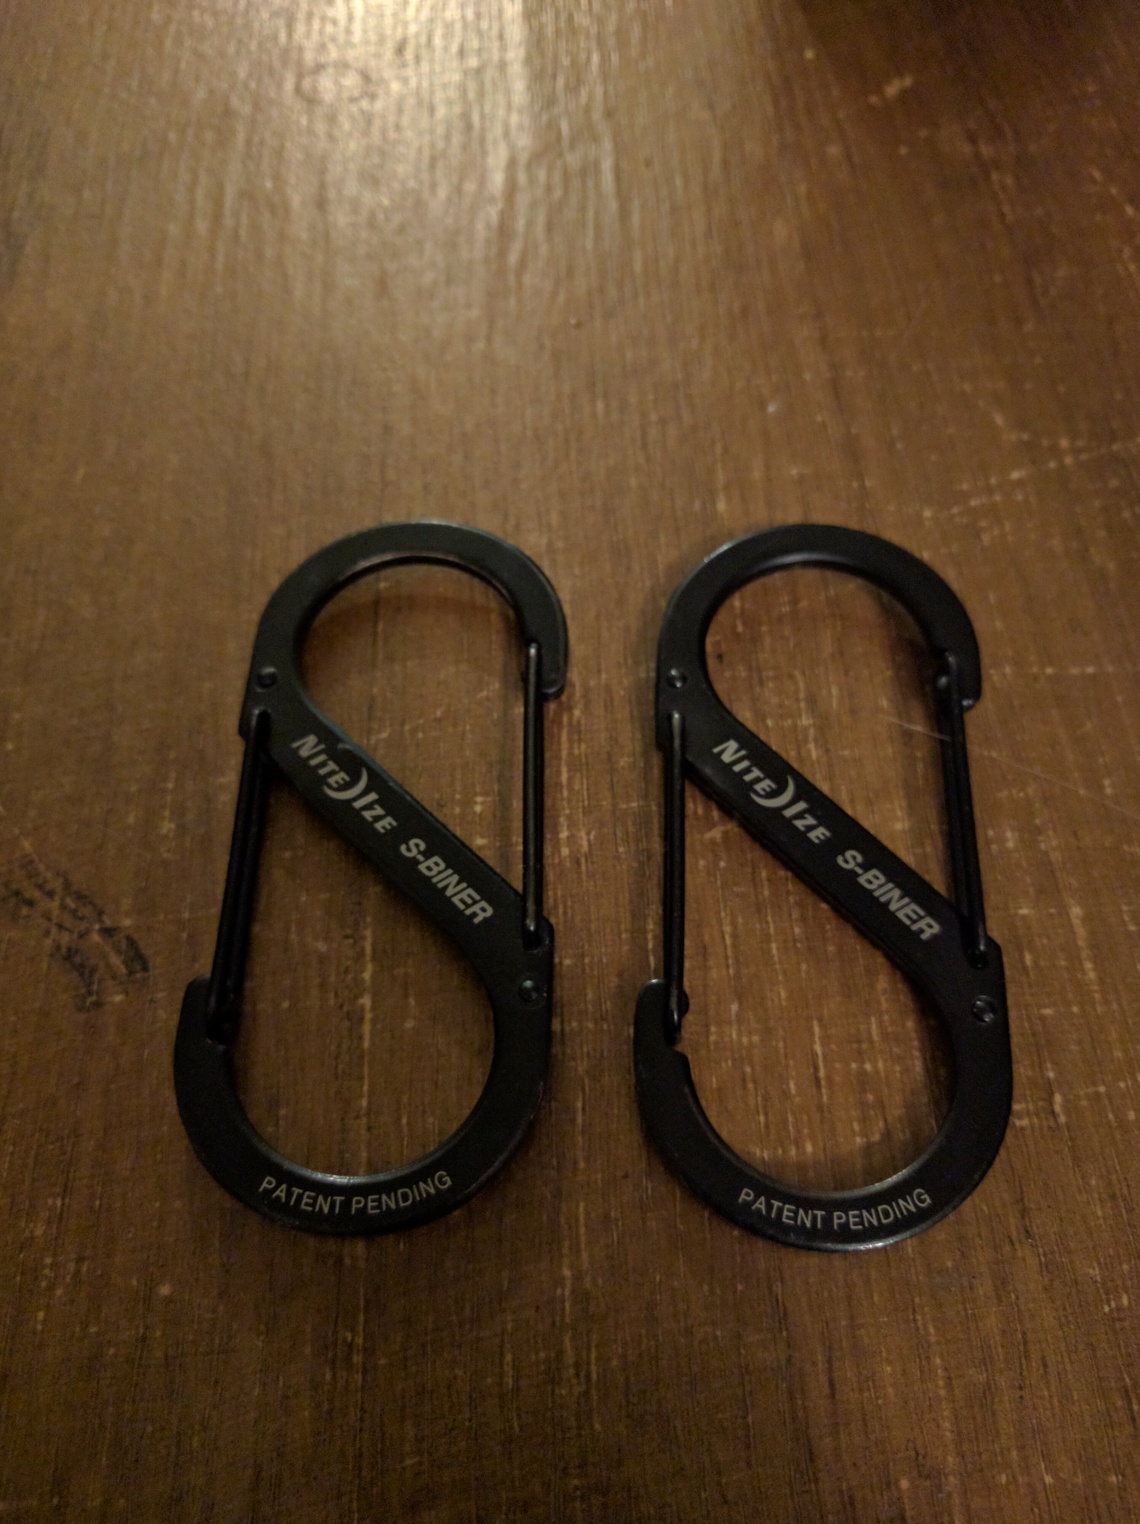
- Two 75lb Nite Ize carabiners (shit)
Here you can see what it looked like:
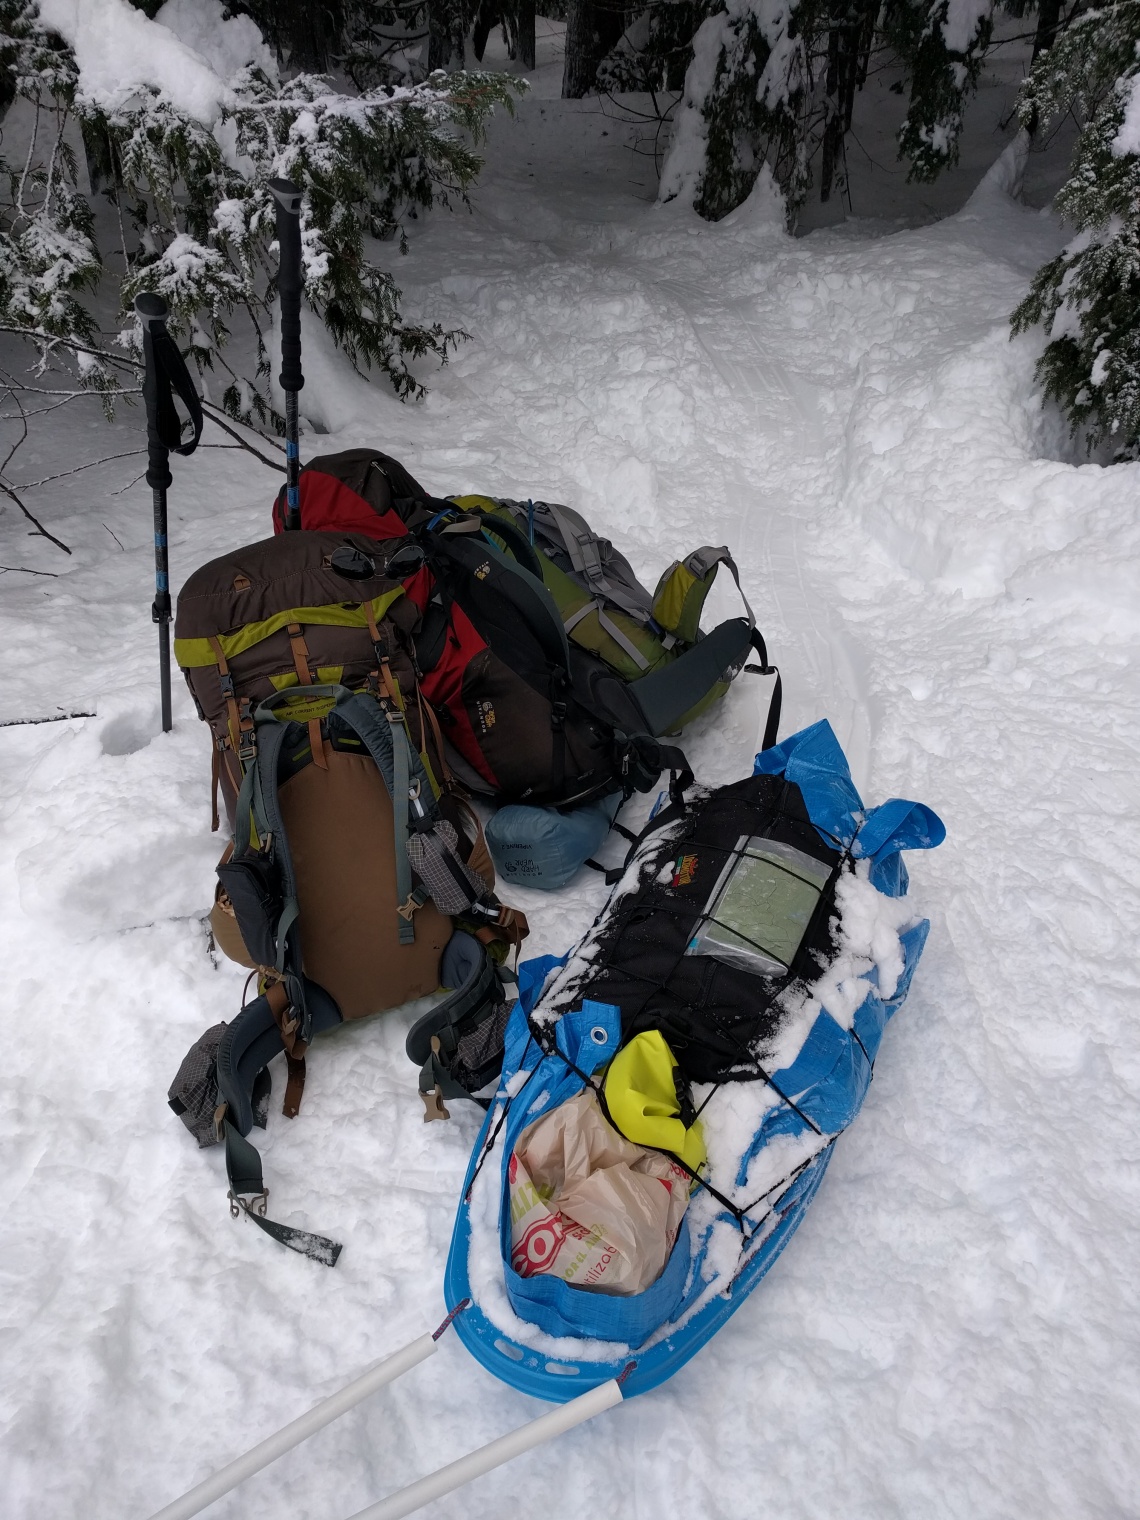
On my last trip, we took the pulk on a more difficult trail in a ton of powder. It kept tipping due to improper loading and uneven terrain. While we were trying to adjust things, the front of the sled broke right where the front hole is. This plastic doesn’t hold up to the cold well and becomes brittle. Look at the picture below and you can see where it fell apart. This also makes it much harder to secure the gear and we had to rig it a bit. We cut our hike short because of it and set up camp early.
The two carabiners I got also failed on this trip, a perfect storm of gear issues. They kept disconnecting from my pack which was beyond annoying. The carabiners I got are simply not made for this, much less climbing or anything else. I don’t recommend using faux carabiners like the ones below, go ahead and get some entry level climbing carabiners.
For my new setup, I cannibalized the climbing rope and the PVC pipe, both of which are in perfect shape. I purchased new climbing carabiners and a Paris Expedition sled. I also purchased 4mm climbing rope to use for the rigging as you’ll see. For help keeping the sled on track in dicey terrain I splurged and purchased fins which mount under the sled.
For this new setup I use the following:
- Same climbing rope for poles (local outdoor store)
- Same PVC for the climbing rope (local hardware store)
- Paris sled $40 shipped (REI)
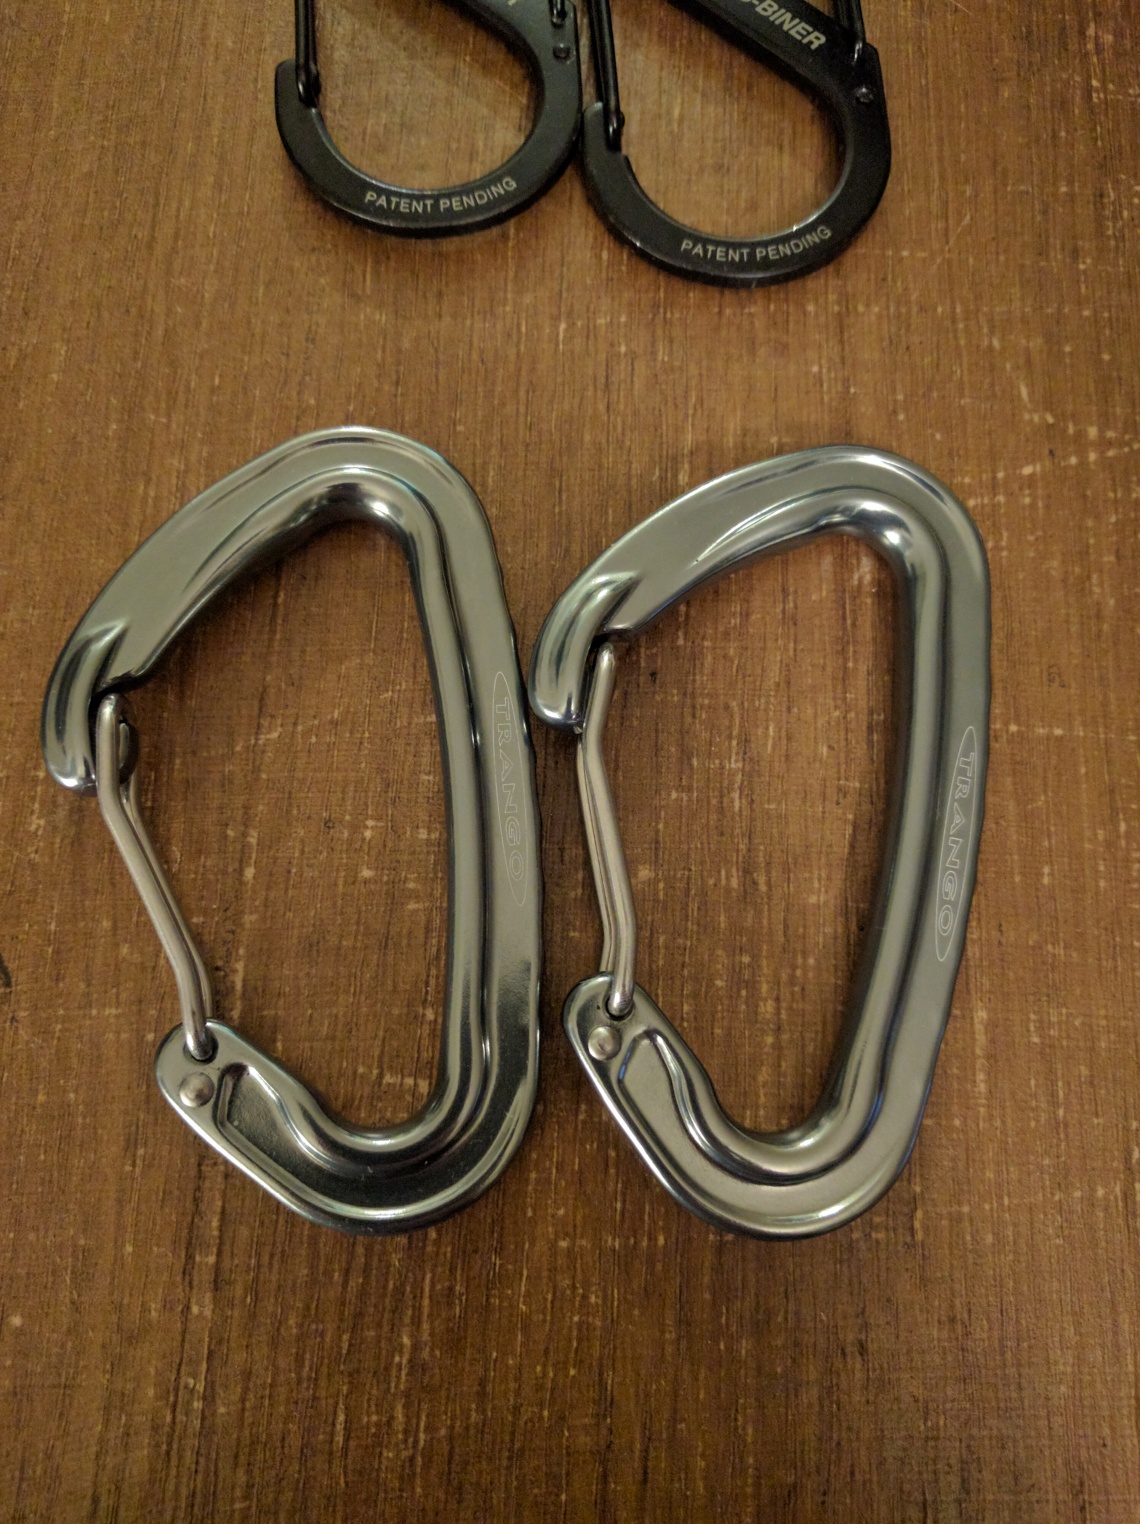
- climbers carabiners $6 each (local outdoors store)
- small gauge climbing rope $4.50 (local outdoors store)
- aluminum fins with components $21 shipped (www.skipulk.com)
I chose climbing carabiners this time since my Nite Ize fauxbiners failed. The wiregate (the part that opens and closes) failed and it kept disconnecting from my pack. The climbing carabiners are stronger and lighter. The wiregate is still better than a keylock because snow/ice buildup is less of an issue.
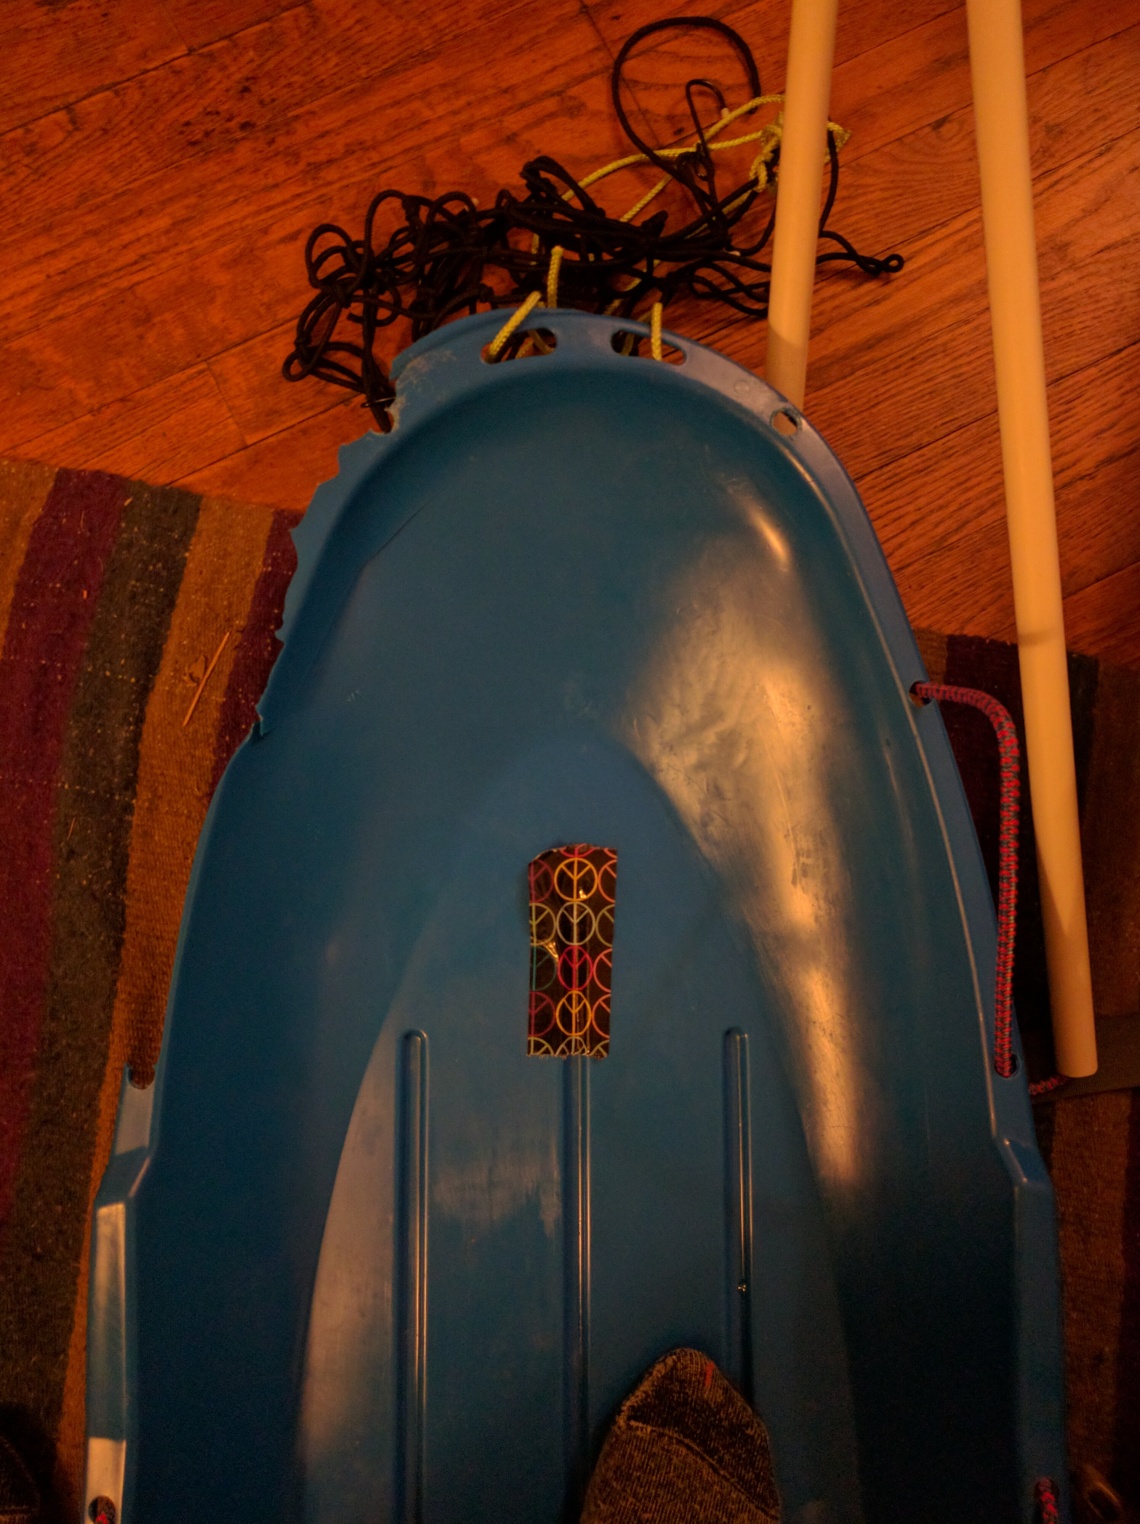
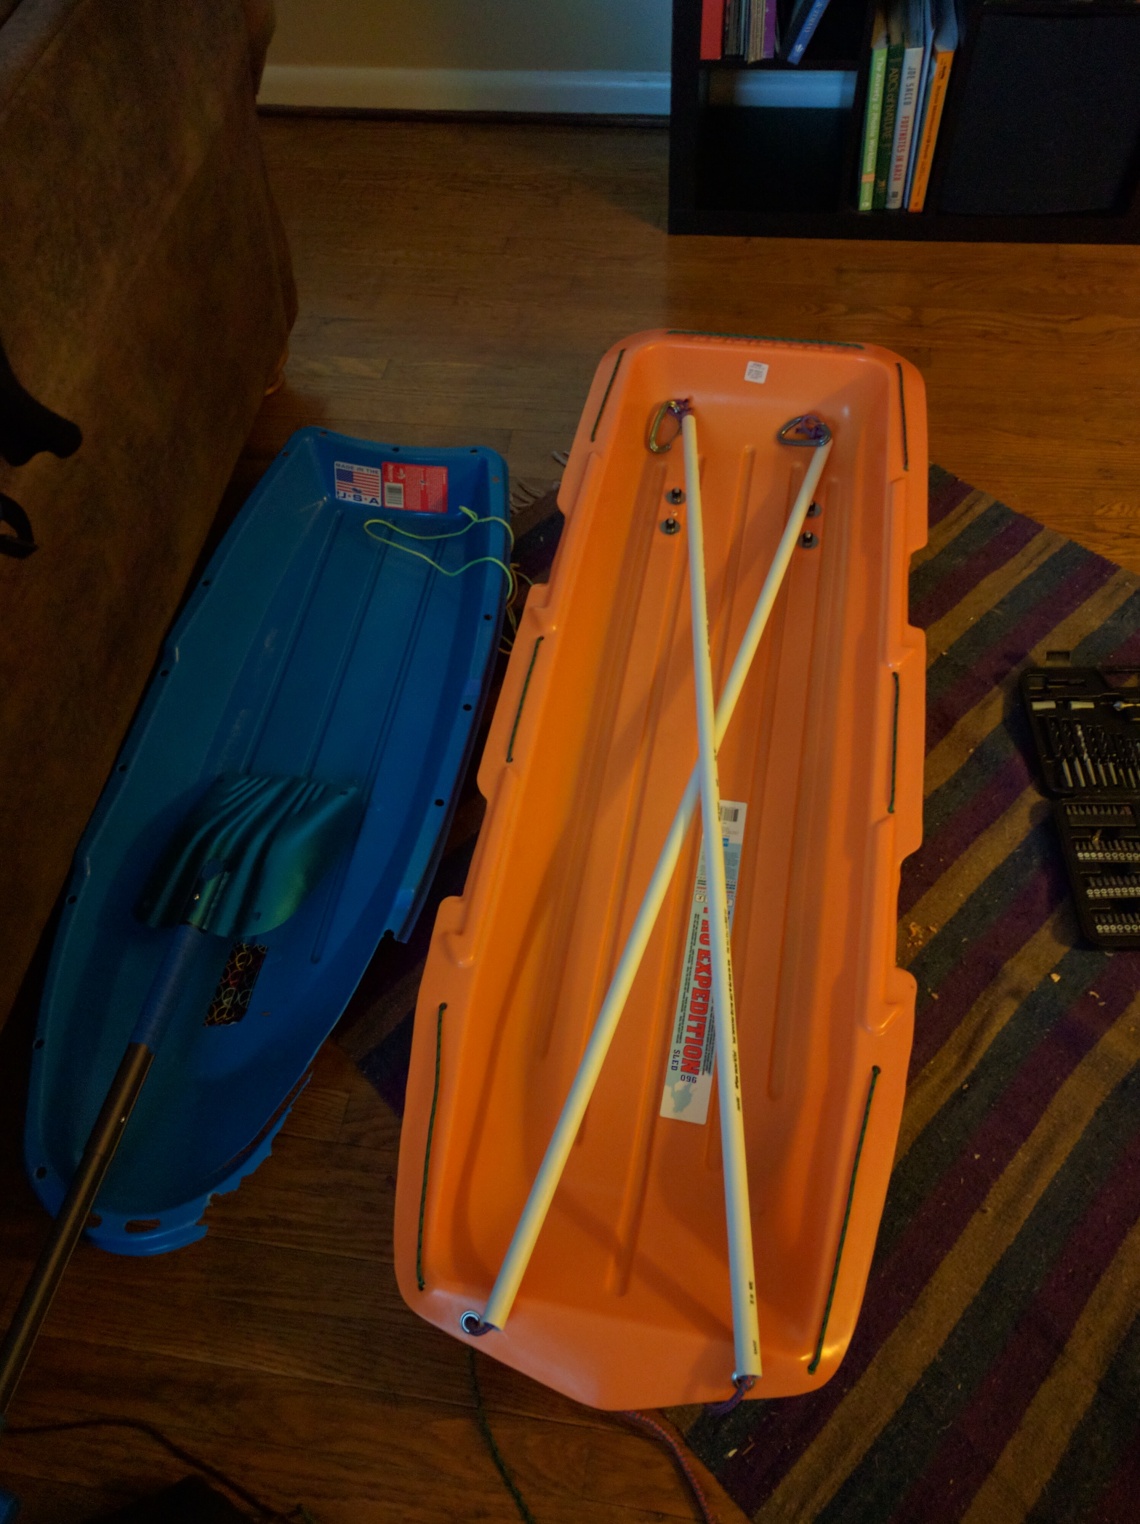
With an REI gift card I was able to purchase a Paris Expedition Sled. Ironically, the cheapest place I could find it was at REI. Otherwise I may have gone with a Jet Sled which has plenty of good reviews as well. Either would be fine I’m sure. For reference the Paris sled is 5′ long. Here is the new Paris sled compared to the broken Home Depot kids sled.

With the first sled, the rope I used to pull the sled, was also the same length of rope I strung along the side rails of the sled through the holes you can see above. This gave me rigging points to attach a big bungie cargo net (also failed on the last trip). However, when the sled broke along the side rails this caused not only the the pulling to be awkward, but also caused the rigging points to fail. To solve this problem I will rig the two separately in my new setup.
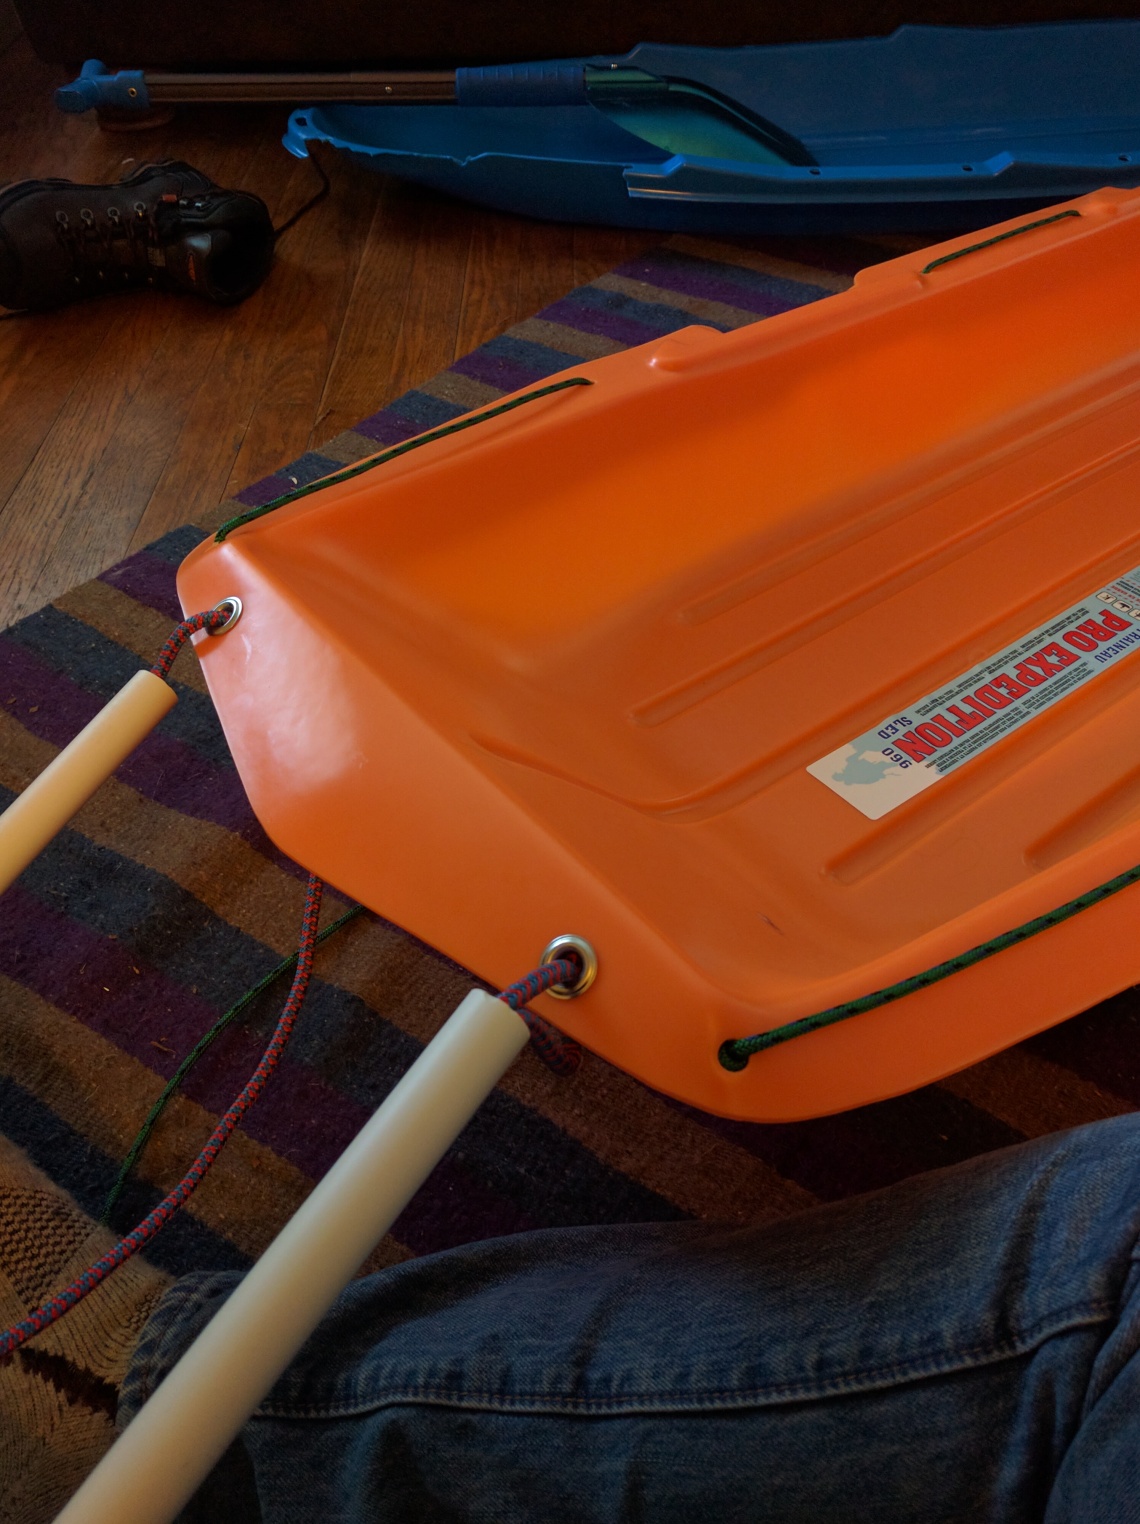
Using the small gauge climbing rope I thread it through the holes to give me rigging points where I’ll attach bungie cords or straps. I drilled an extra hole to the left of the “E” and to the right of the “N” to give a better rigging point along the back of the sled. Note that I don’t use this rope on the two front holes because that’s where the poles will attach with different rope. At the ends of the rope, I use a double overhand knot that acts as a block and keeps the rope in place.


Now its time to attach the poles. I run the thick climbers rope up through the pipes and tie a fishermans loop. Then attach the carabiners. Give it an inch or so of play on the end.
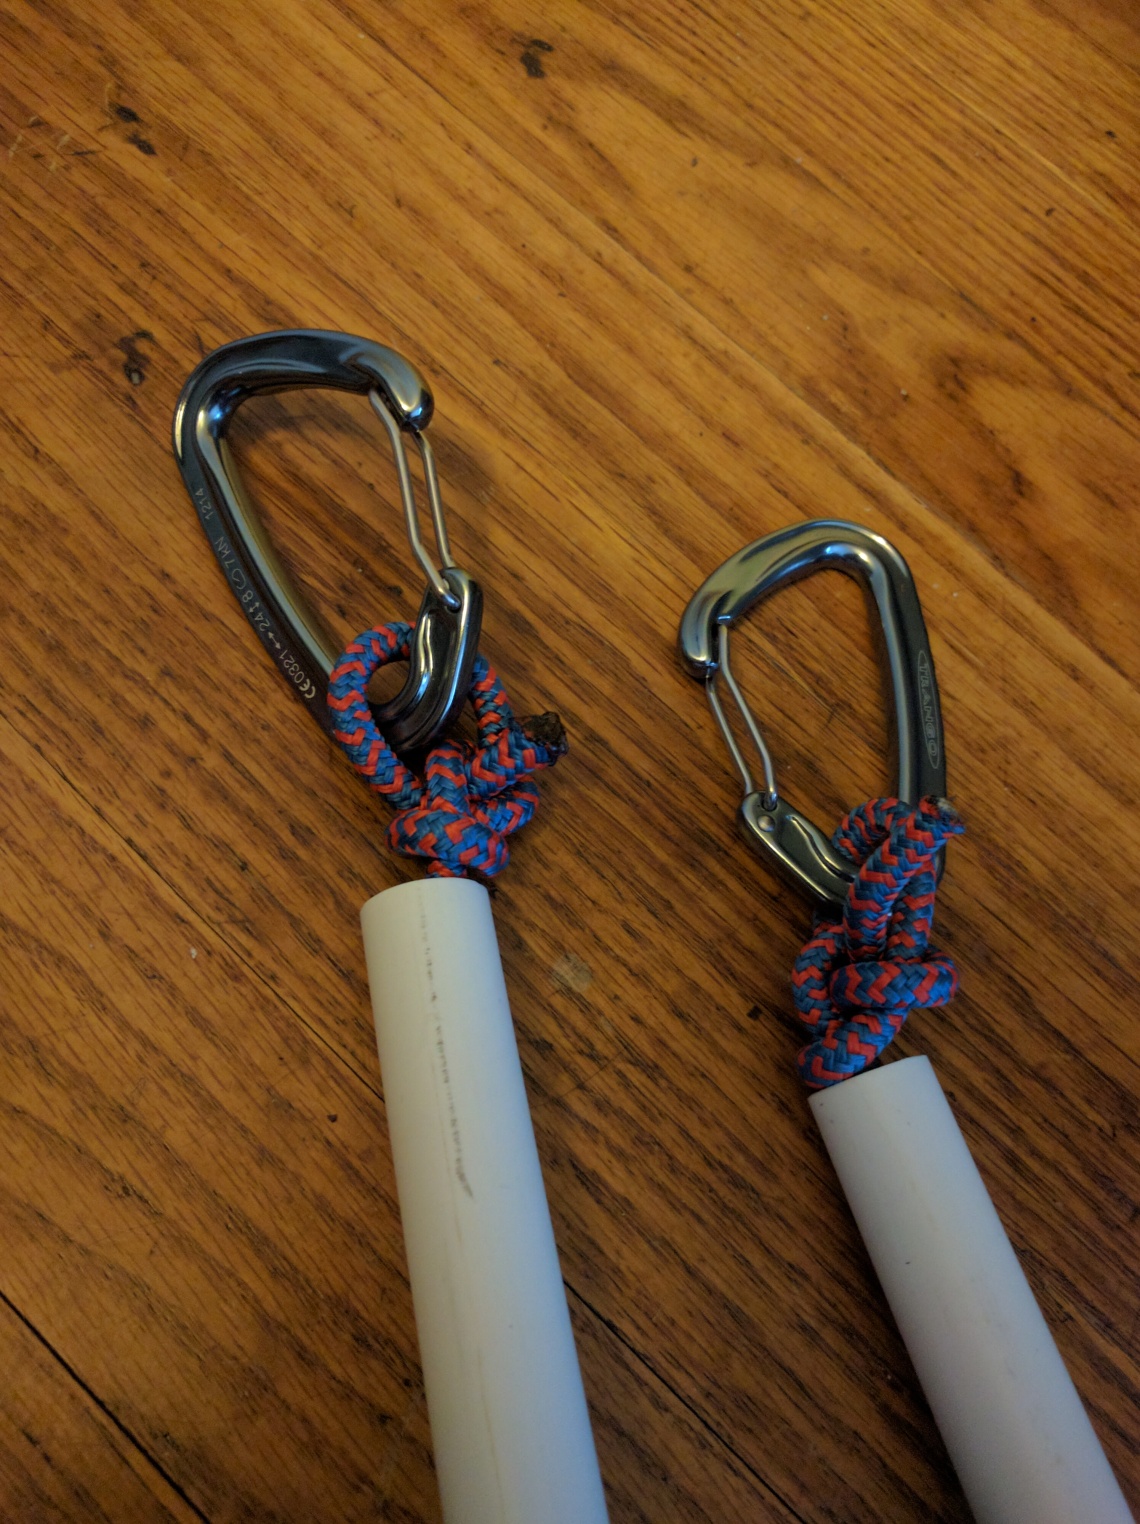
Now I run the rope through the grommeted holes. I made a double overhand knot to act as a block. I can now pull the sled.


Here’s what it looks like now that I’ve completed the pole assembly and fastening. Note how I left a couple of inches or so between the ends of the poles and the sled. Otherwise the poles will constantly slam and rub on the front, stressing the sled.
You can stop here and the sled above is now ready to roll. However, since I’m on uneven terrain and sidehills, any sled can be unstable. It can tip and track badly. To solve this you can attach fins to the bottom. I found plans for machining these parts on other blogs, but I don’t have access to a freaking grinder and you probably don’t either. Luckily you can buy fin kits from skipulk.com for $21 shipped. They shipped quickly and the parts are great.
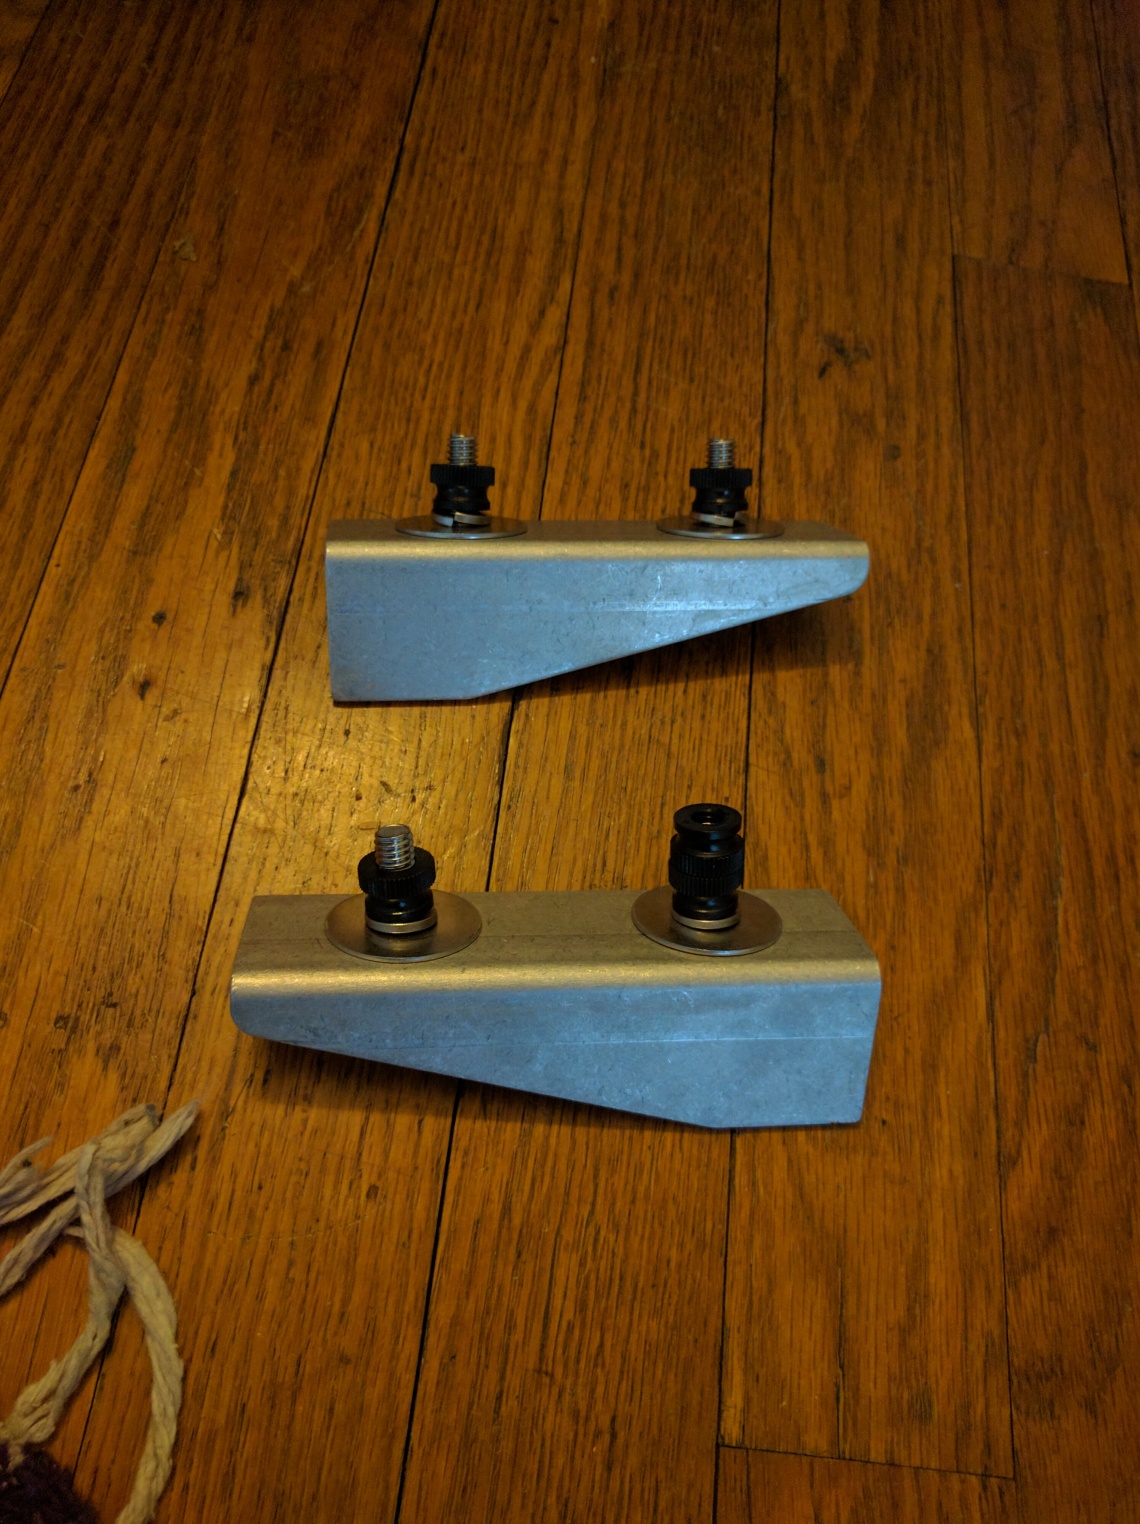
Instructions are included, but I’ll show the process here. First position one fin towards the rear, like on a surfboard. Using the fin hole as your guide, drill your first hole. Then put the bolt though and secure it. Now drill the second hole.


Now secure the other bolt. Here is what it looks like to have one fin properly attached from top and bottom:


Repeat for the other side (obviously). Now its done and ready to go. However, you don’t always need the fins. On easy terrain or hard packed ice/snow you should remove the fins.


If you need to remove the fins you can easily use the finger tighteners and mount them on the inside of the sled. However the bolts stick out under the sled a little bit, but not too badly as you can see below. Alternatively you can just stow them in your pack, but be careful with all the small parts! You would instantly lose them in the snow if you dropped them.


Here is the finished pulk. You can put a shitload of gear in this. In my old pulk we loaded it with water, hot drinks in hydro flasks, beer, liquor, firewood, hatchet, saw etc. This makes winter camping truly luxurious compared to the deprivation of ultralight summer backpacking. All the heavy gear goes in the sled while the bulky down parka, snow pants, quilt, etc go in my backpack making for a very light load on my back.
In the winter this is the way to go without a doubt (provided you have snow). My first dirtbag style pulk cost about $25 all in if I remember correctly. Start there and see if you like it. My new one cost a lot more, but will last significantly longer and is much better suited for the job. Load it up with booze and wood. Bring your friends and have a blast.

Hey thanks for this tutorial! I totally copied your instructions.
How did you clip it to your pack? I mine doesn’t ha e daisy chain looos on the hip belt. I think I’ll sew up some webbing loops and thread my hip bet through them, and clip to those.
LikeLiked by 1 person
Hi Chris, glad you found it helpful. I think sewing in some loops is best. However I’ve used a pack before that didnt have them, so I connected the caribiners to the part of your shoulder straps that connects to the bottom of your pack and that works ok for short trips
LikeLike